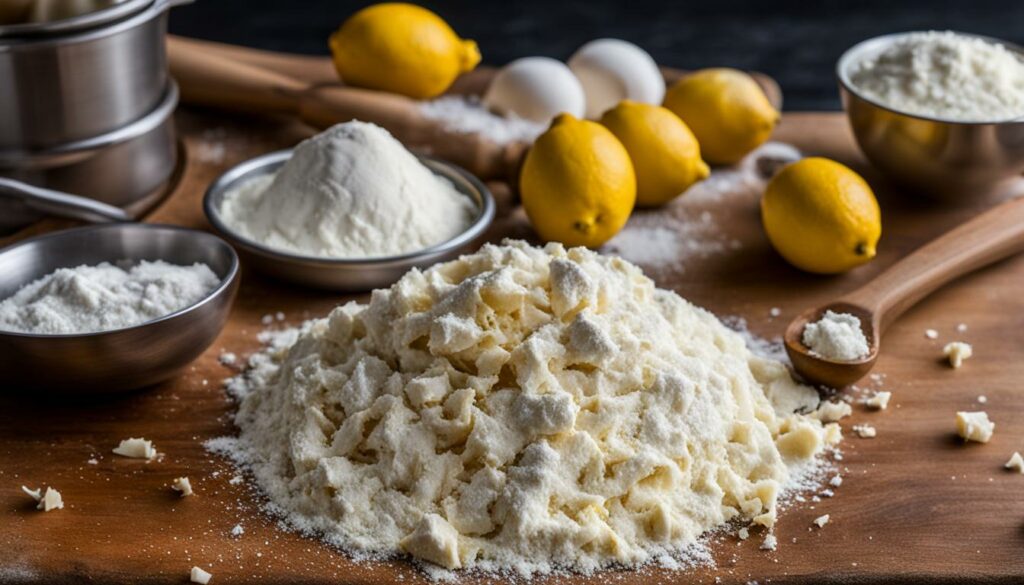
Indulge in a homemade Italian dessert with this delightful ricotta and lemon zest stuffed cannoli cones recipe. These cannoli cones are a quick and easy twist on traditional cannoli, with sugar ice cream cones substituting the cannoli shells. The creamy ricotta filling, flavored with lemon zest and vanilla extract, is a simple but scrumptious addition. Dip the opening of the cones in melted dark chocolate for an extra sweet crunch. Serve these cannoli cones for any occasion, from birthdays to holidays, and enjoy the endless possibilities for variations, such as adding grated orange or lemon peel, swapping out chocolate chips for pistachios, or using a combination of both. These cannoli cones are the perfect sweet treat that will leave you wanting more.
Cannoli Cones: Ingredients & Equipment
To make these delicious cannoli cones, you will need the following ingredients:
- full-fat ricotta cheese
- vanilla extract
- powdered sugar
- sugar ice cream cones
- dark chocolate chips
- mini semisweet chocolate chips
You will also need some equipment to create these mouthwatering cannoli cones:
- hand mixer
- piping bag
- parchment paper
These simple ingredients and tools are all you need to bring this delightful Italian dessert to life. With just a few steps, you’ll be enjoying crispy cannoli cones filled with creamy ricotta goodness.
| Ingredients | Equipment |
|---|---|
| full-fat ricotta cheese | hand mixer |
| vanilla extract | piping bag |
| powdered sugar | parchment paper |
| sugar ice cream cones | |
| dark chocolate chips | |
| mini semisweet chocolate chips |
Now that you have everything you need, let’s dive into the recipe and create these irresistible cannoli cones!

Making Cannoli Cones
Making cannoli cones is a breeze, allowing you to savor the deliciousness of homemade cannoli without the fuss of traditional preparation. Follow these simple recipe instructions for a delightful treat!
Melting and Dipping
Start by melting the dark chocolate chips. You can do this by placing them in a microwave-safe bowl and heating them in 15-second intervals, stirring in between, until fully melted. Alternatively, you can use a double boiler for this process.

Once the chocolate is melted and smooth, dip the wide opening of the sugar ice cream cones into the chocolate, generously coating the edges. Allow any excess chocolate to drip off before placing the cones facedown on parchment paper. Let them sit until the chocolate hardens.
Preparing the Filling
In a bowl, combine the drained ricotta cheese, powdered sugar, and vanilla extract. Use a hand mixer to blend everything together until the mixture is smooth and creamy.
Next, add mini semisweet chocolate chips to the ricotta mixture, gently folding them in until evenly distributed.
Filling the Cones
Transfer the prepared filling into a piping bag fitted with a large round tip. If you don’t have a piping bag, you can use a resealable plastic bag with a corner snipped off.
Carefully pipe the ricotta filling into each cone, starting from the wide opening and filling it all the way to the tip. Apply gentle pressure to ensure the cones are evenly filled.
For extra decoration, sprinkle additional chocolate chips on top of the filling, adding a delightful touch of sweetness and texture.
Serving and Enjoying
Once filled, your cannoli cones are ready to be savored! These delicious treats are best enjoyed immediately after preparation to maintain their perfect crispy texture.
Now that you know the process of making cannoli cones, it’s time to indulge in this delightful homemade dessert!
Tips and Variations for Cannoli Cones
Enhance your cannoli cone experience with these helpful tips and creative variations.
Tips:
- Drain the ricotta cheese: Before filling your cannoli cones, make sure to drain the ricotta cheese to prevent the cones from becoming soggy. This will ensure a crisp and delicious texture.
- Fill cones right before serving: While you can prepare the cannoli filling ahead of time, it’s best to fill the cones right before serving to maintain their freshness and avoid them from becoming too soft.
Variations:
Get creative and try out these delectable variations for your cannoli cones:
- Add citrus zest: Enhance the flavor of your filling by adding grated orange or lemon peel to the ricotta mixture. This will give your cannoli cones a refreshing and tangy twist.
- Swap out chocolate chips: Experiment with different flavors by substituting chocolate chips with pistachios. The nutty crunch will complement the creamy ricotta filling perfectly.
- Combine flavors: Why choose just one when you can have both? Mix grated orange or lemon peel with pistachios for a unique flavor combination that will delight your taste buds.
- Try different chocolate chips: Explore various types of chocolate chips, such as white chocolate, milk chocolate, or dark chocolate, to add different levels of sweetness and richness to your cannoli cones.
- Top with fruit or sprinkles: For a fun and colorful presentation, decorate your cannoli cones with fresh fruits like berries or a sprinkle of colorful sprinkles. This will add a delightful visual appeal to your sweet treats.
- Infuse with spices: Add a touch of warmth and depth to your cannoli mixture by incorporating spices like cinnamon. This aromatic addition will elevate the flavors of your cannoli cones to a whole new level.
With these tips and variations, you can customize your cannoli cones and create a truly delicious dessert that suits your taste preferences. Let your culinary creativity shine and discover your favorite flavor combination!

Frequently Asked Questions About Cannoli Cones
Here are some frequently asked questions about cannoli cones:
-
How long does it take to make cannoli cones?
Following this recipe, it should take about a half-hour.
-
How many cannoli cones does this recipe make?
It’ll make 10 cannoli cones, enough for everyone in the family to have a couple.
-
Do you have to drain the ricotta?
Yes, draining the ricotta is highly recommended to avoid sogginess in the cones.
-
Can you freeze the cannoli filling to use later?
It is not recommended to freeze the cannoli filling as it may not thaw well.
-
Can you make cannoli cones ahead of time?
While it is possible to make the filling ahead of time, it is best to fill the cones right before serving to maintain their crispiness.
| Frequently Asked Questions | Answers |
|---|---|
| How long does it take to make cannoli cones? | Following this recipe, it should take about a half-hour. |
| How many cannoli cones does this recipe make? | It’ll make 10 cannoli cones, enough for everyone in the family to have a couple. |
| Do you have to drain the ricotta? | Yes, draining the ricotta is highly recommended to avoid sogginess in the cones. |
| Can you freeze the cannoli filling to use later? | It is not recommended to freeze the cannoli filling as it may not thaw well. |
| Can you make cannoli cones ahead of time? | While it is possible to make the filling ahead of time, it is best to fill the cones right before serving to maintain their crispiness. |
FAQs About Cannoli Cones:
How long does it take to make cannoli cones?
Following this recipe, it should take about a half-hour.
How many cannoli cones does this recipe make?
It’ll make 10 cannoli cones, enough for everyone in the family to have a couple.
Do you have to drain the ricotta?
Yes, draining the ricotta is highly recommended to avoid sogginess in the cones.
Can you freeze the cannoli filling to use later?
It is not recommended to freeze the cannoli filling as it may not thaw well.
Can you make cannoli cones ahead of time?
While it is possible to make the filling ahead of time, it is best to fill the cones right before serving to maintain their crispiness.
If you have any other questions about cannoli cones or need further clarification, feel free to reach out to us. We are here to help!
Try this Delicious Cannoli Dip with Lemon Zest
If you’re looking for a quick and easy dessert option, try this delicious cannoli dip with lemon zest. The addition of lemon zest adds a fresh flavor that pairs perfectly with fruit.
Simply combine drained ricotta cheese, softened cream cheese, whipped heavy cream, confectioner sugar, and lemon zest in a mixing bowl. Mix until well combined and smooth.
Serve the dip chilled in a dish, topped with a sprinkle of lemon zest and additional confectioner sugar if desired. This cannoli dip is a refreshing and eye-catching dish that will be a hit at your next gathering.

Conclusion
In conclusion, these ricotta and lemon zest stuffed cannoli cones and cannoli dip with lemon zest are delightful treats for any sweet tooth. Whether you choose to make the cannoli cones or the dip, both recipes are quick and easy to prepare, offering a taste of homemade Italian desserts without the need for elaborate dough or deep frying.
The versatility of these recipes allows for endless variations, making them suitable for any occasion. Whether you’re hosting a birthday party, a holiday gathering, or simply craving a sweet indulgence, these ricotta and lemon zest creations are sure to satisfy.
So, go ahead and indulge in the deliciousness of these sweet treats. Let your creativity shine as you explore different flavor combinations and add your own personal touch. Immerse yourself in the flavors of Italy right in your own kitchen, and bring joy to your taste buds and those of your loved ones. Enjoy!
FAQ
How long does it take to make cannoli cones?
Following this recipe, it should take about a half-hour.
How many cannoli cones does this recipe make?
It’ll make 10 cannoli cones, enough for everyone in the family to have a couple.
Do you have to drain the ricotta?
Yes, draining the ricotta is highly recommended to avoid sogginess in the cones.
Can you freeze the cannoli filling to use later?
It is not recommended to freeze the cannoli filling as it may not thaw well.
Can you make cannoli cones ahead of time?
While it is possible to make the filling ahead of time, it is best to fill the cones right before serving to maintain their crispiness.


